1) Upload the downloaded ZIP file from CodeCanyon to your server.
You can upload it anywhere inside your public_html folder or any sub-folder of your choice. Just remember the directory where you uploaded it.
2) Extract the ZIP file.
Once uploaded, unzip the file in the selected directory.
3) Access the installation URL.
Open your preferred web browser and enter the URL where you extracted the files.
For example, if your domain is example.com and you extracted the files inside a folder named school, the installation URL will be:
➤ example.com/school
4) Proceed with installation.
After entering the URL in your browser, you will see the installation screen as shown below:

Before starting the installation process, ensure you have the following:
✅ CodeCanyon Purchase Code – You can find this in your purchase details on CodeCanyon.
✅ Database Information – You need to create a new database on your server and have the following details:
Database Name
Database Username
Database Password
Database Host
➤ PHP Extensions – Make sure the following extensions are enabled on your server:
cURL
GD Library
Once everything is set up, you can proceed with the installation process.
➤ Purchase Verification
Please enter your Envato username and purchase code for verification.
[Note: We do not store this information; it is used solely for verification purposes.]

Please enter the purchase code you received from CodeCanyon and click the "Continue" button. This will take you to the next step of the installation process.
Fill in the required database details to proceed with the installation:
Database Type: Select your preferred database driver.
Database Name: Enter the name of the database you created for this application.
Username: Enter your database username.
Password: Enter your database password.
Database Host: Enter your database host. If 'localhost' does not work, check with your web host for the correct hostname.
Table Prefix: Set a table prefix or use the randomly generated one. Ideally, it should be four or five characters long, contain only alphanumeric characters, and end with an underscore (_). Ensure the prefix is not already in use by other tables.
Make sure you enter the correct database credentials. The installer will verify the details once you click the "Continue" button.

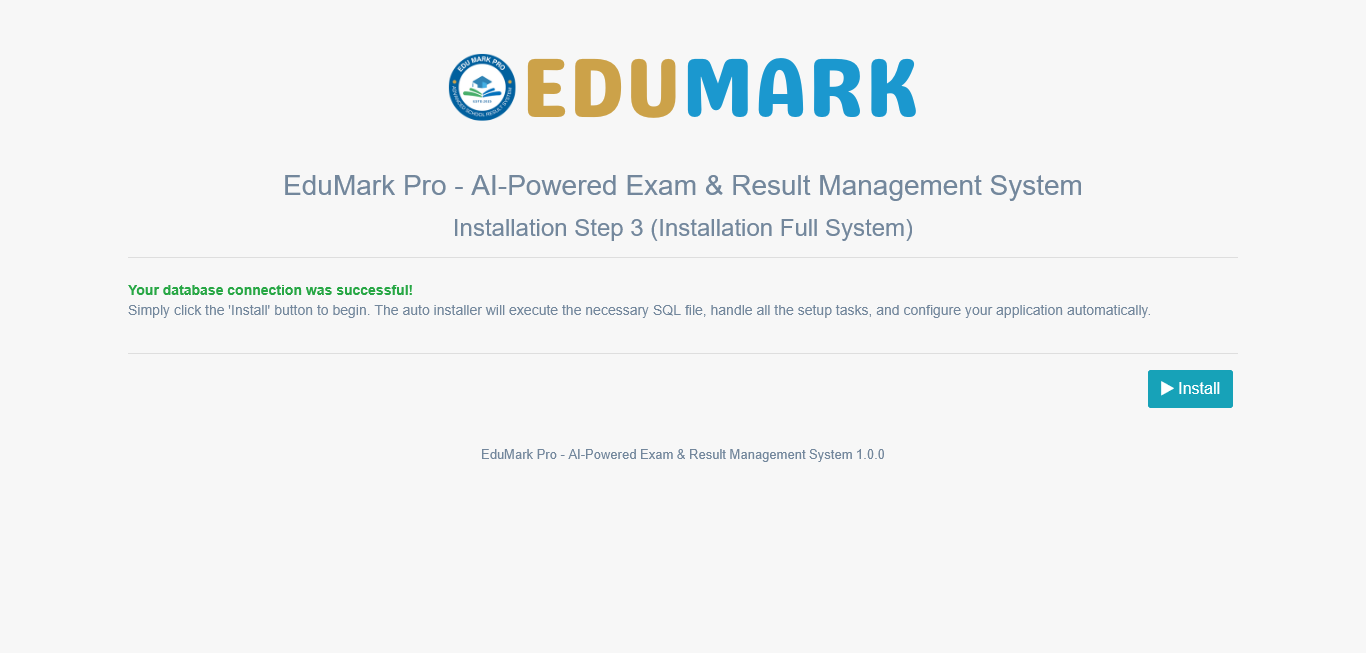
Your database connection has been successfully established.
Now, simply click the "Install" button. This will automatically import the application's database into your created database.
[Please Note: The import process may take some time, depending on your server's performance. Please wait until the operation is complete.]
Once the installation is finished, you can proceed to the next step.
Fill in the required details and click the "Settings" button. This will save your administrator login credentials, which will be required later to access the application.
Once the installer successfully imports the database, you will be redirected to the next setup page.

After setting up the Super Admin, the application login page will be displayed.
Now, you can log in as an administrator using the email and password you provided in the previous step.
Once logged in, you will have full access to manage the application.
